|
cut a 1" long piece of the 1-1/2" tube. 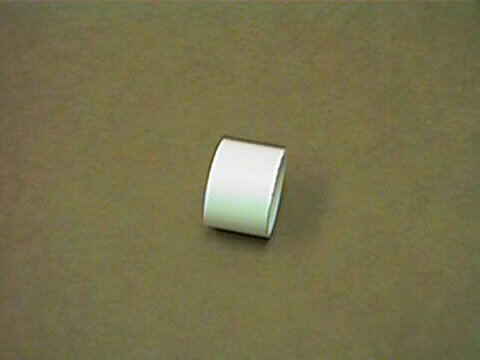
Use a file and bevel both edges. 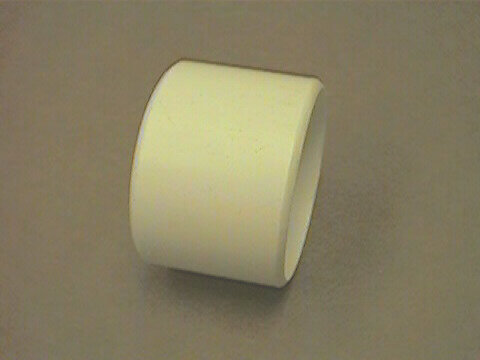
Then you need to cut an opening in the band. 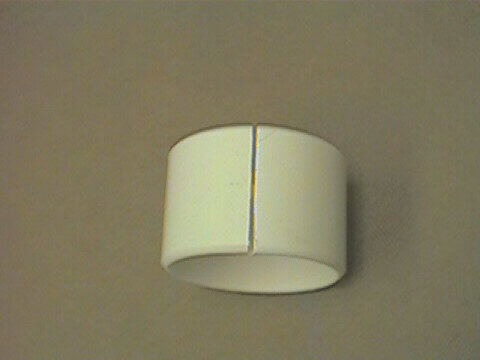
When you slide it on the saber, 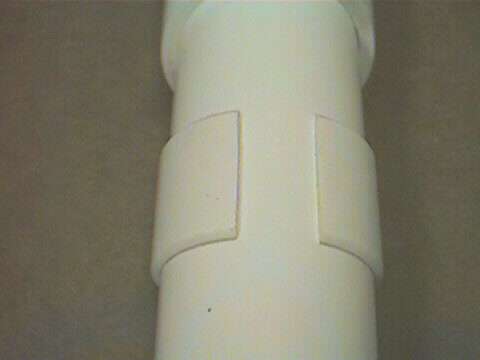
the opening should be very close to the width of the LED bar. You may have to file a small amount for it to fit just right. 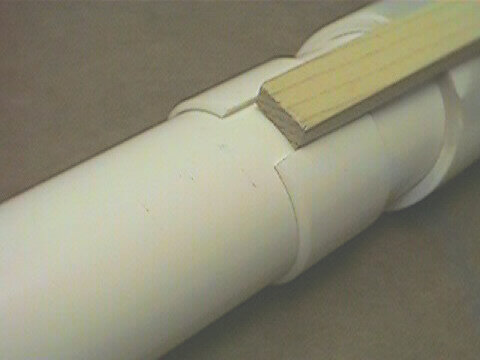
It's best to wait until you make the LED bar before glueing this piece, in case you need alter the size of the opening. __________________________________________________ To make the LED bar, cut a piece of the 1/4" x 1/2"wood stock to 1-1/2" long. 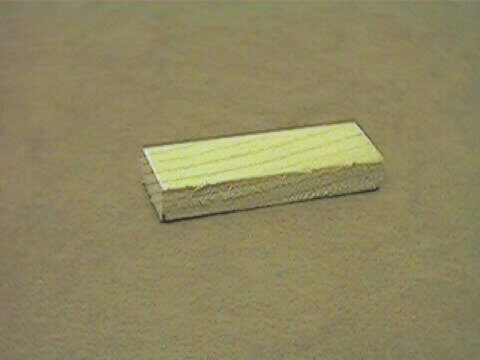
Then take the 3/32" flat stock and cut 1/8" wide strips. 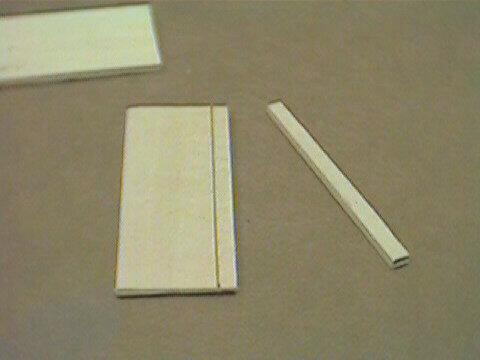
You'll need to cut two strips for the length on the LED bar, and eight small pieces about 3/8" long 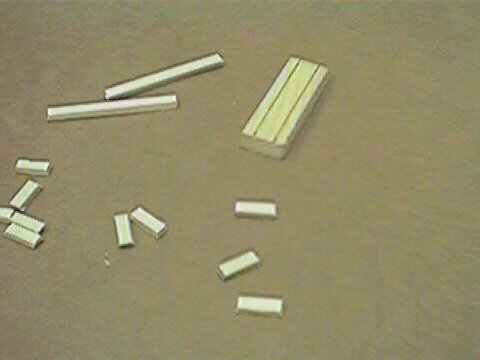
Measure and mark on the LED bar the location for each strip to glue on that will form the LED slots 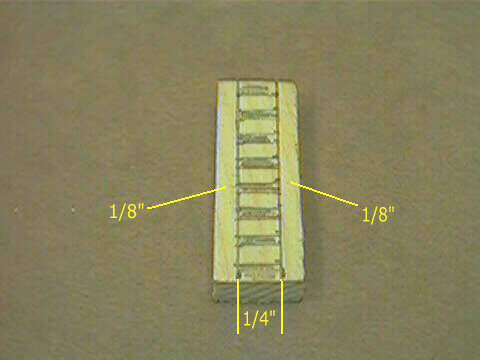
Glue (use wood glue) one of the long pieces on one edge of the bar. Don't worry if it hangs over the edge; this will be sanded smooth later. 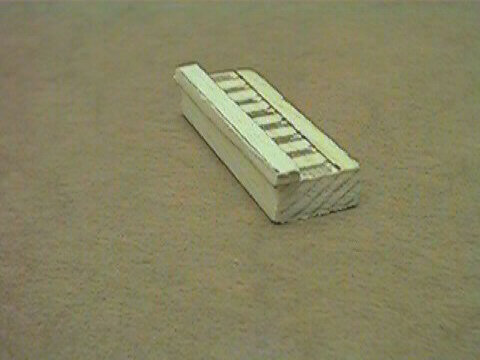
Then glue all the small pieces for the LED slots; remember to lay the two end pieces flat, and the other six get glued on upright. Doing this will keep the LED slots straight and even. 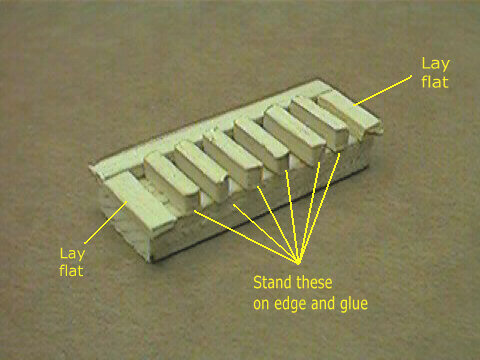
Mark 1/4" on the LED bar, 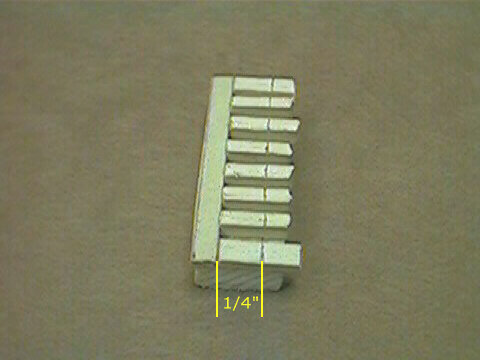
and cut off the excess. 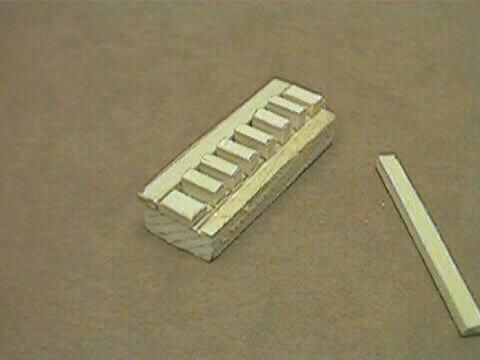
Glue the other long strip in place. 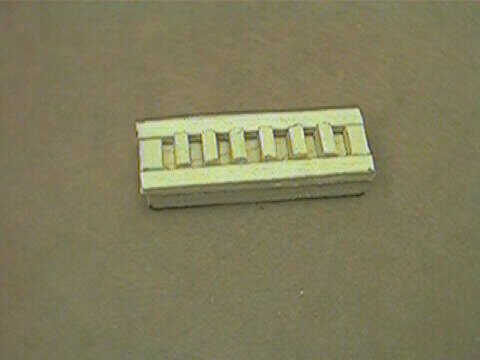
Sand all sides of the LED bar so all the strips you glued on top are flush. 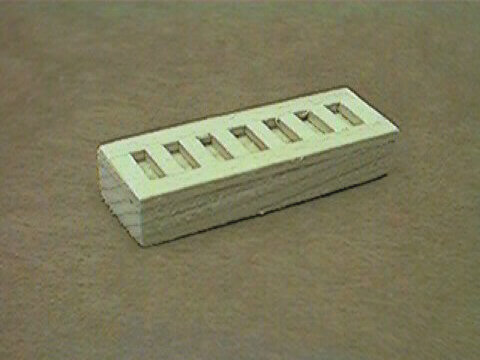
Once it's painted, you won't be able to tell where you glued the pieces. _________________________________________ You'll need to put a radius on the bottom of the LED bar to match the curve of the saber body. 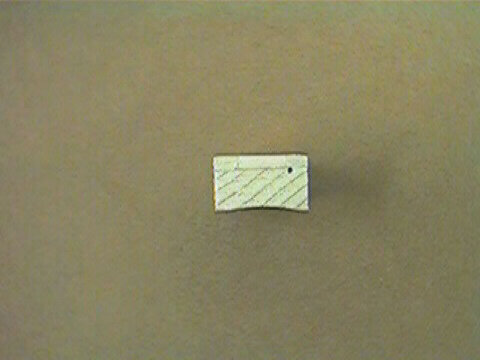
Wrap a piece of sandpaper around the saber body and sand the LED bar until the curve matches the shape of the saber. 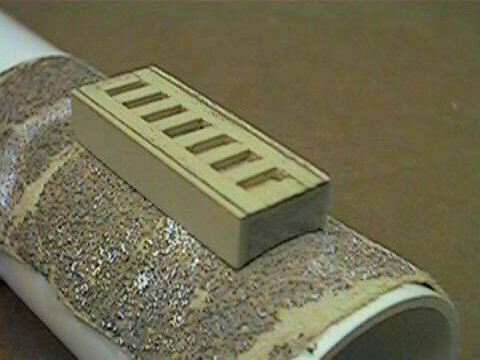
Now check to see how the it fits in the opening you made in the band. You want it to fit with no gap between the bar and the band. 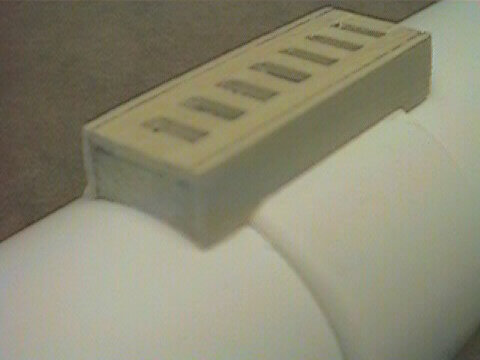
Once you're satisfied how it all fits, you can glue the band in place with super glue. Make sure the opening for the LED bar is at the 6 o'clock position. 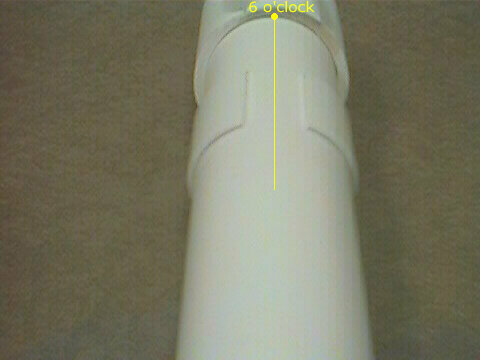
Leave 3/4" between the band and the rear edge of the shroud. 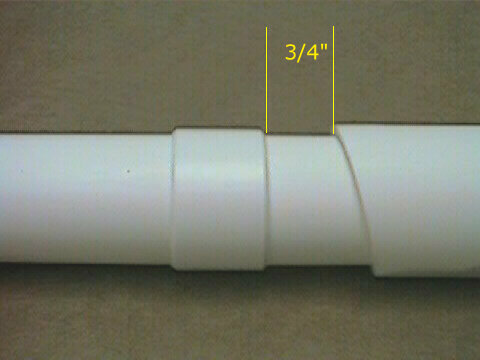
The LED bar itself, gets glued on after painting. _________________________________________________ Now the end cap, is really very simple. I had created some round stock out of resin (by mistake, really). I used a piece of that for the base of the end cap. If you can find a dowel or closet pole that fits inside the main tube, that'll work fine, too. Start with a piece about 1-1/2" long. It doesn't need to be that long, but it's easier to work with. Cut a 1/4" long piece of the 1-1/2" diameter tube. 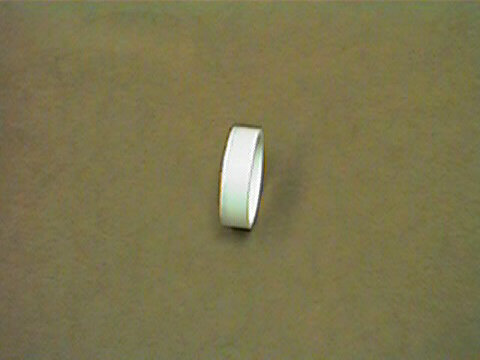
Glue this ring on the end so it's a little higher than the face of your dowel/round stock. 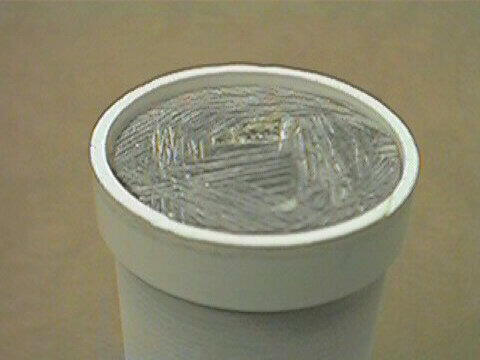
Then fill the space with body filler, 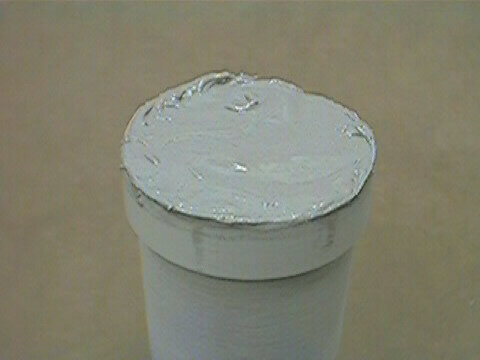
and sand smooth. 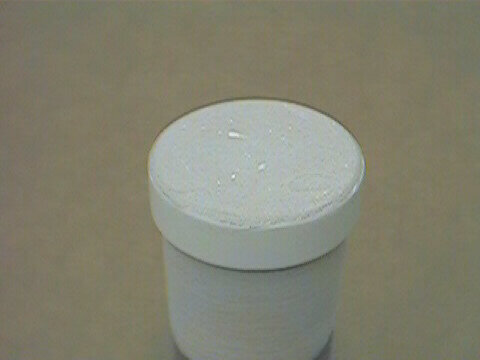
Set the end cap aside. That will be glued on after painting. |